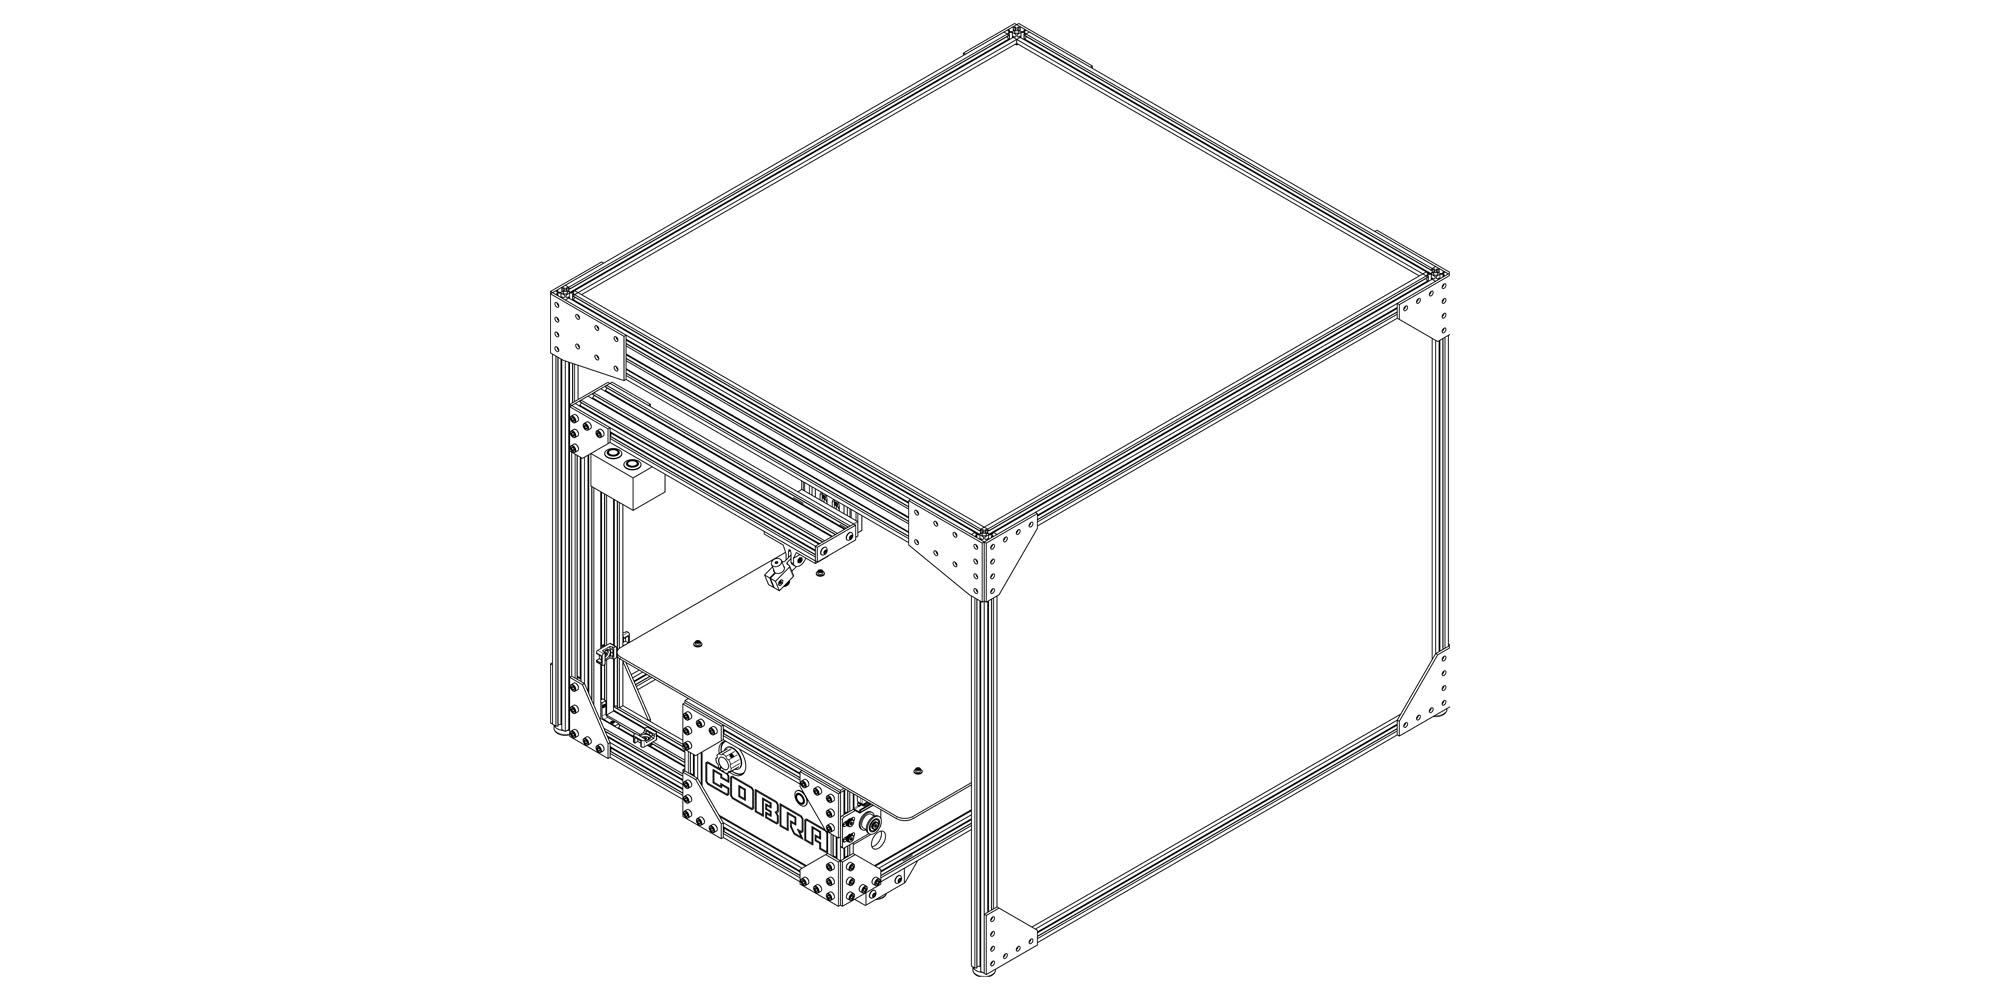
King Cobra Enclosure Assembly

Caution
if using a blade to remove packaging, be mindful not to cut/scratch the plastic panels preinstalled into the right & left assembly. the protective film has been removed from these two panels.
Required Tools
• 2.5MM & 3MM Allen Key
Step 1
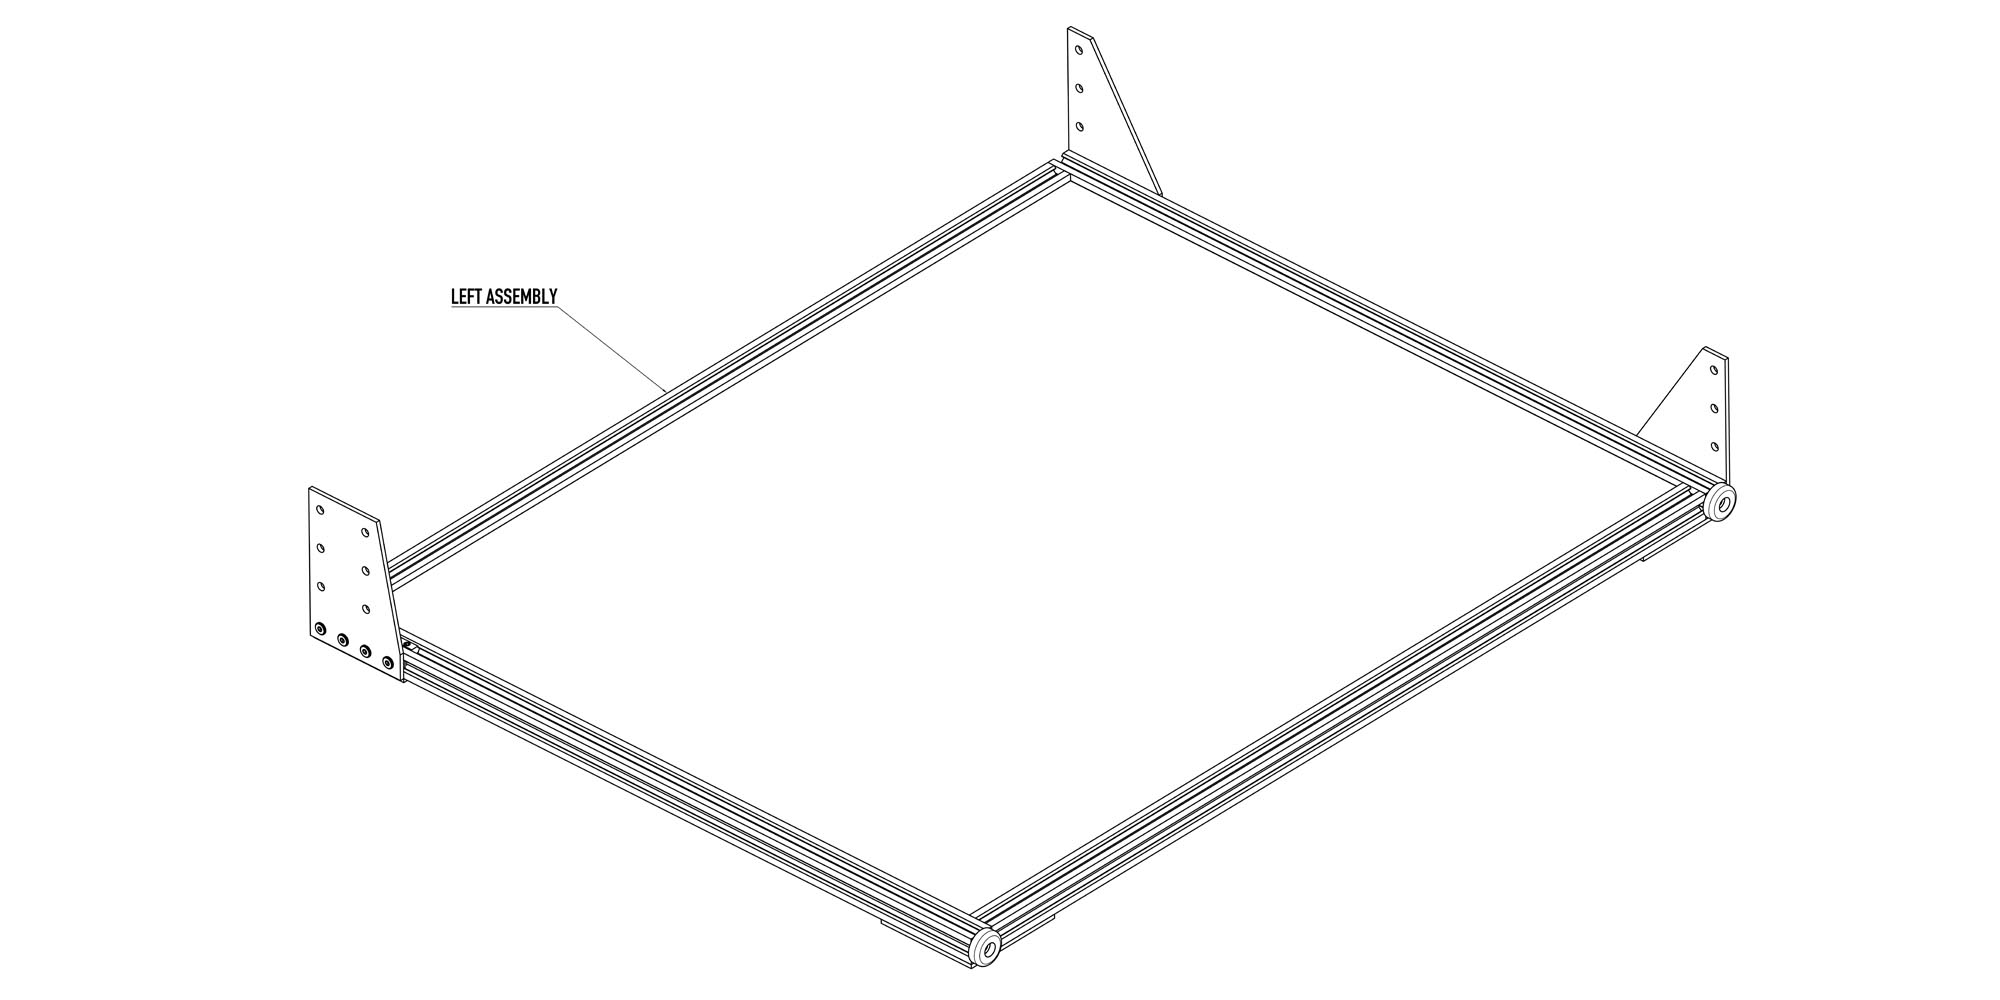
Set the Left or Right Assembly down on a flat surface with the brackets facing upwards.
Step 2
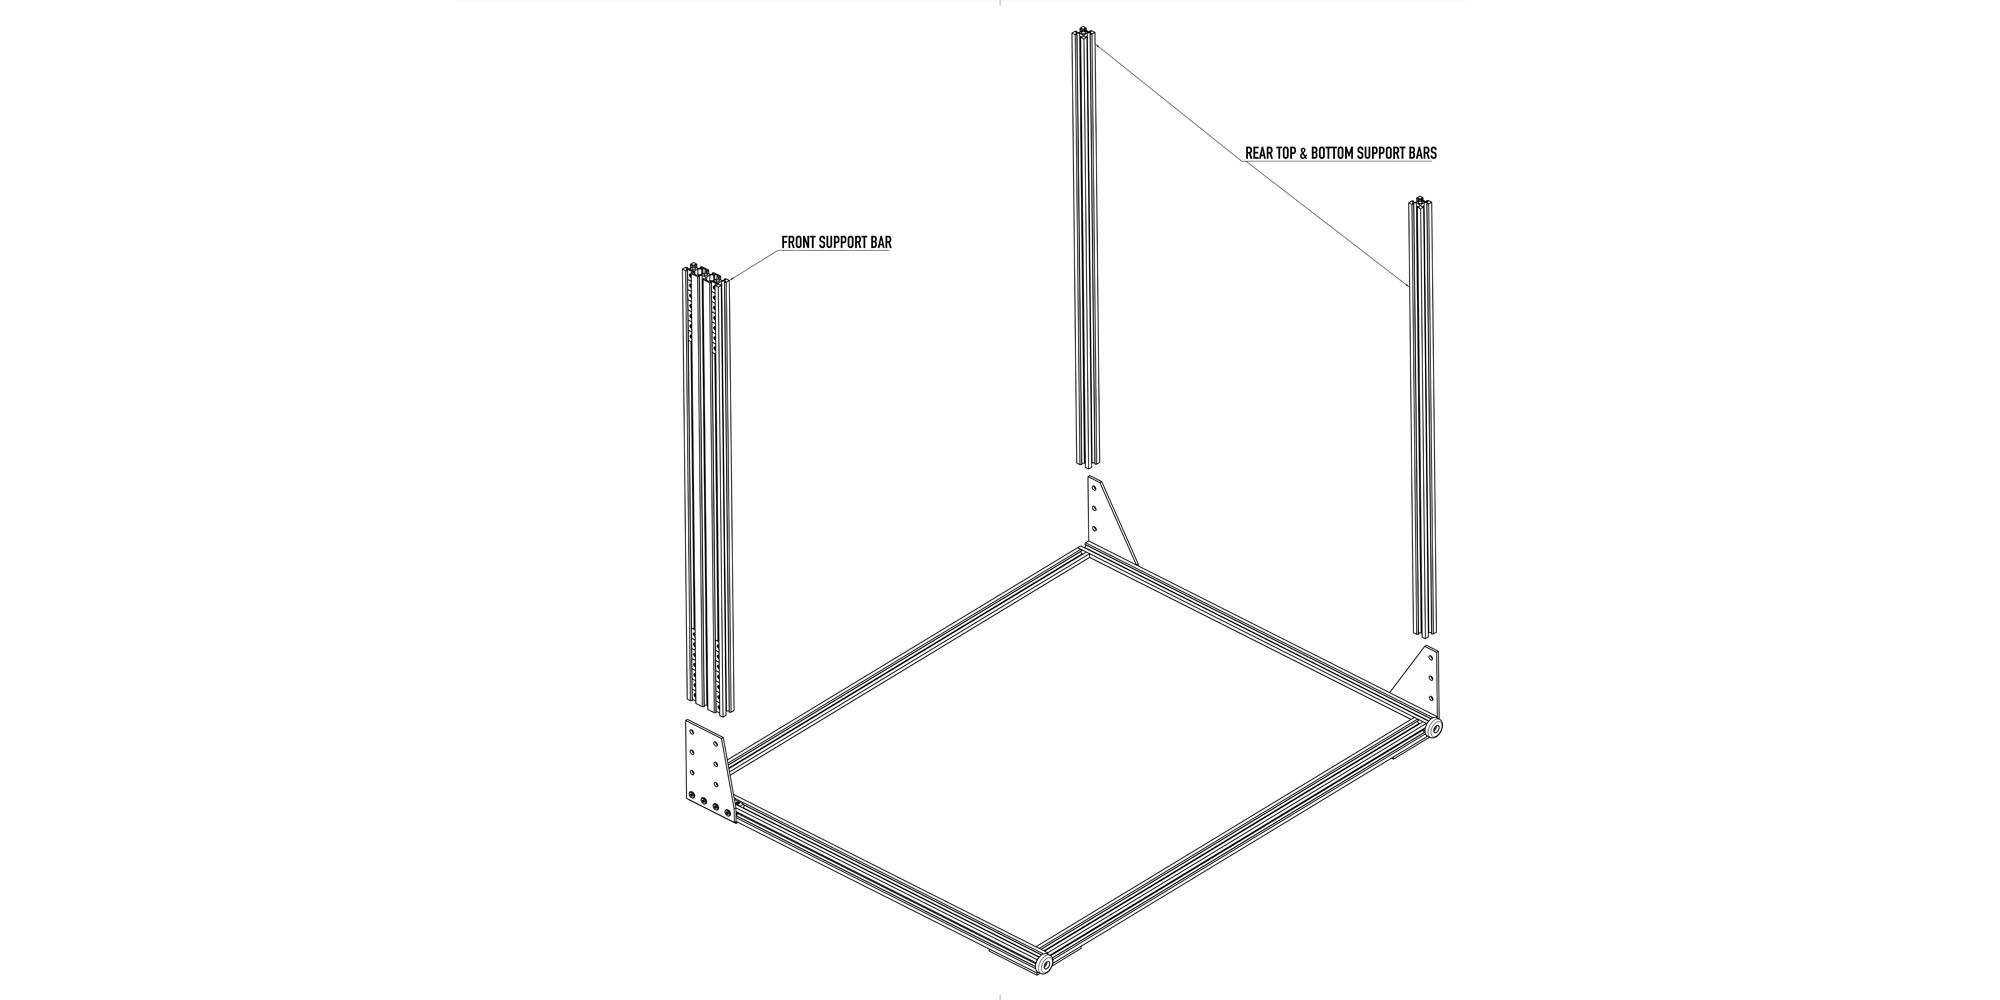
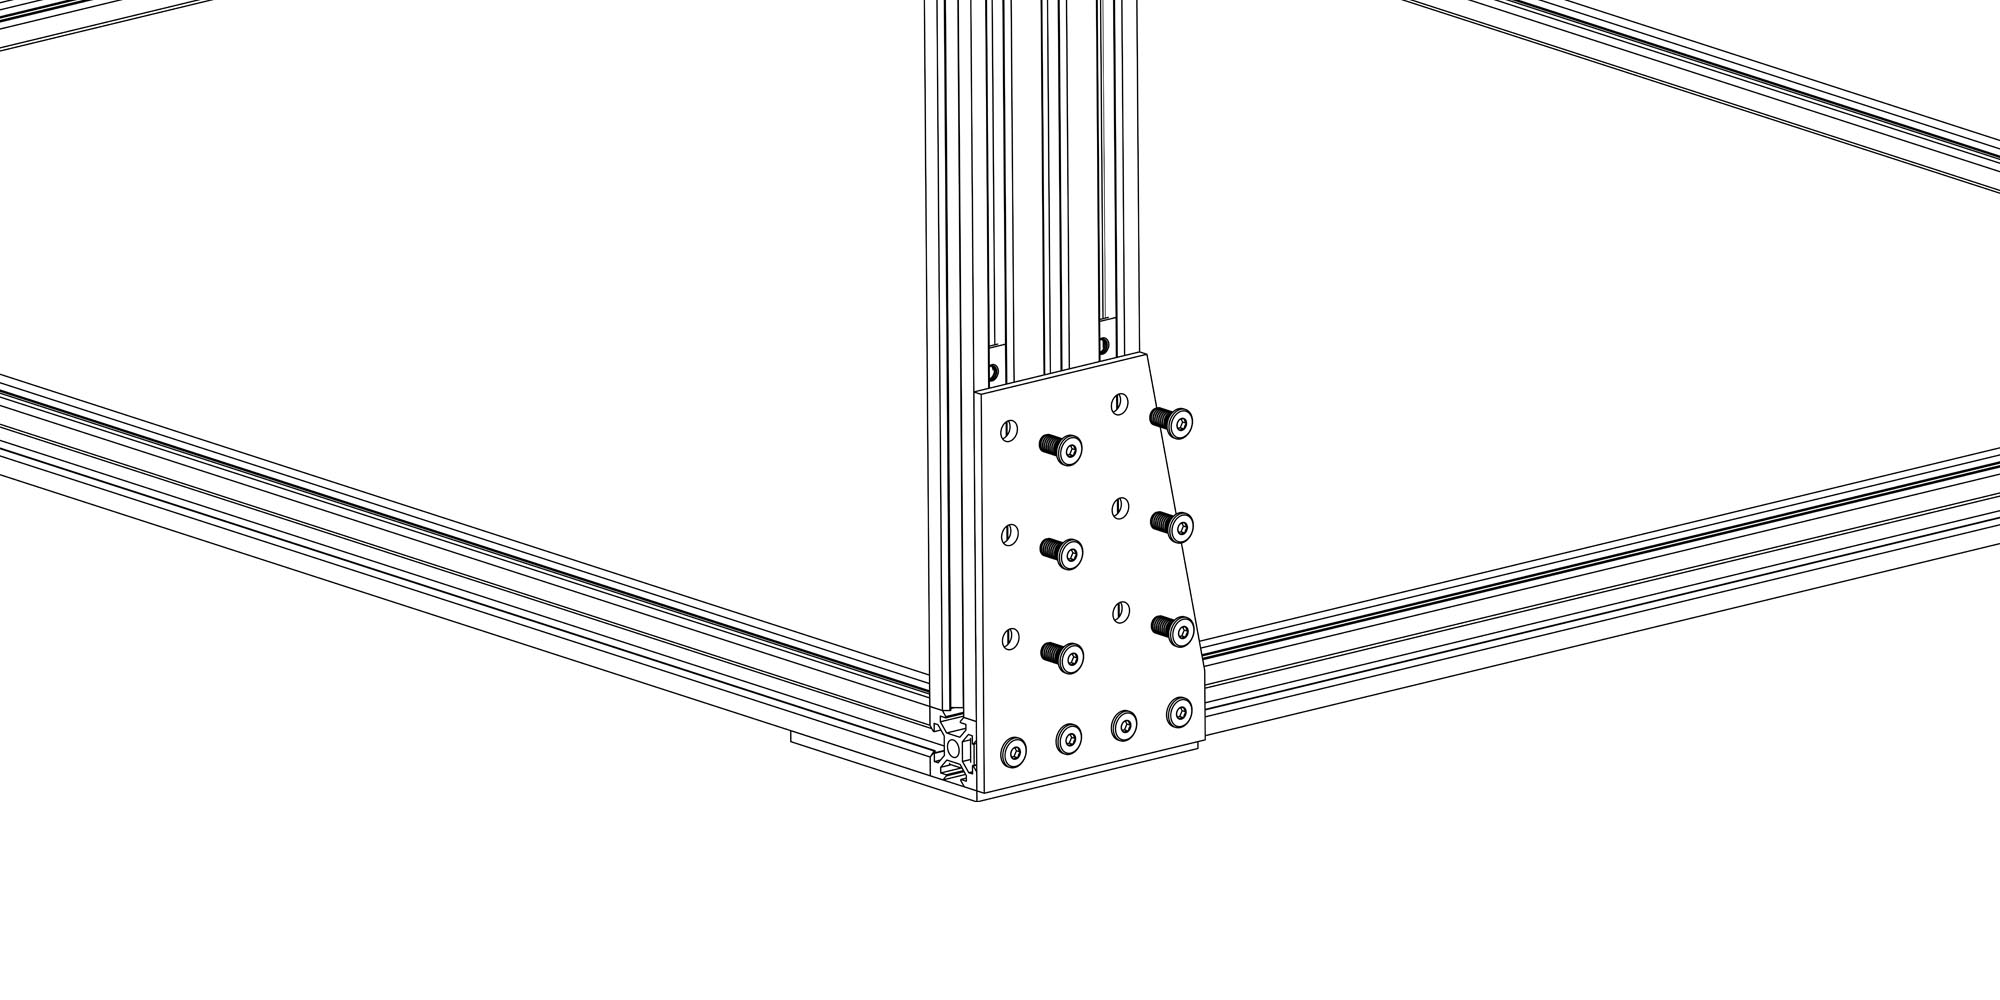
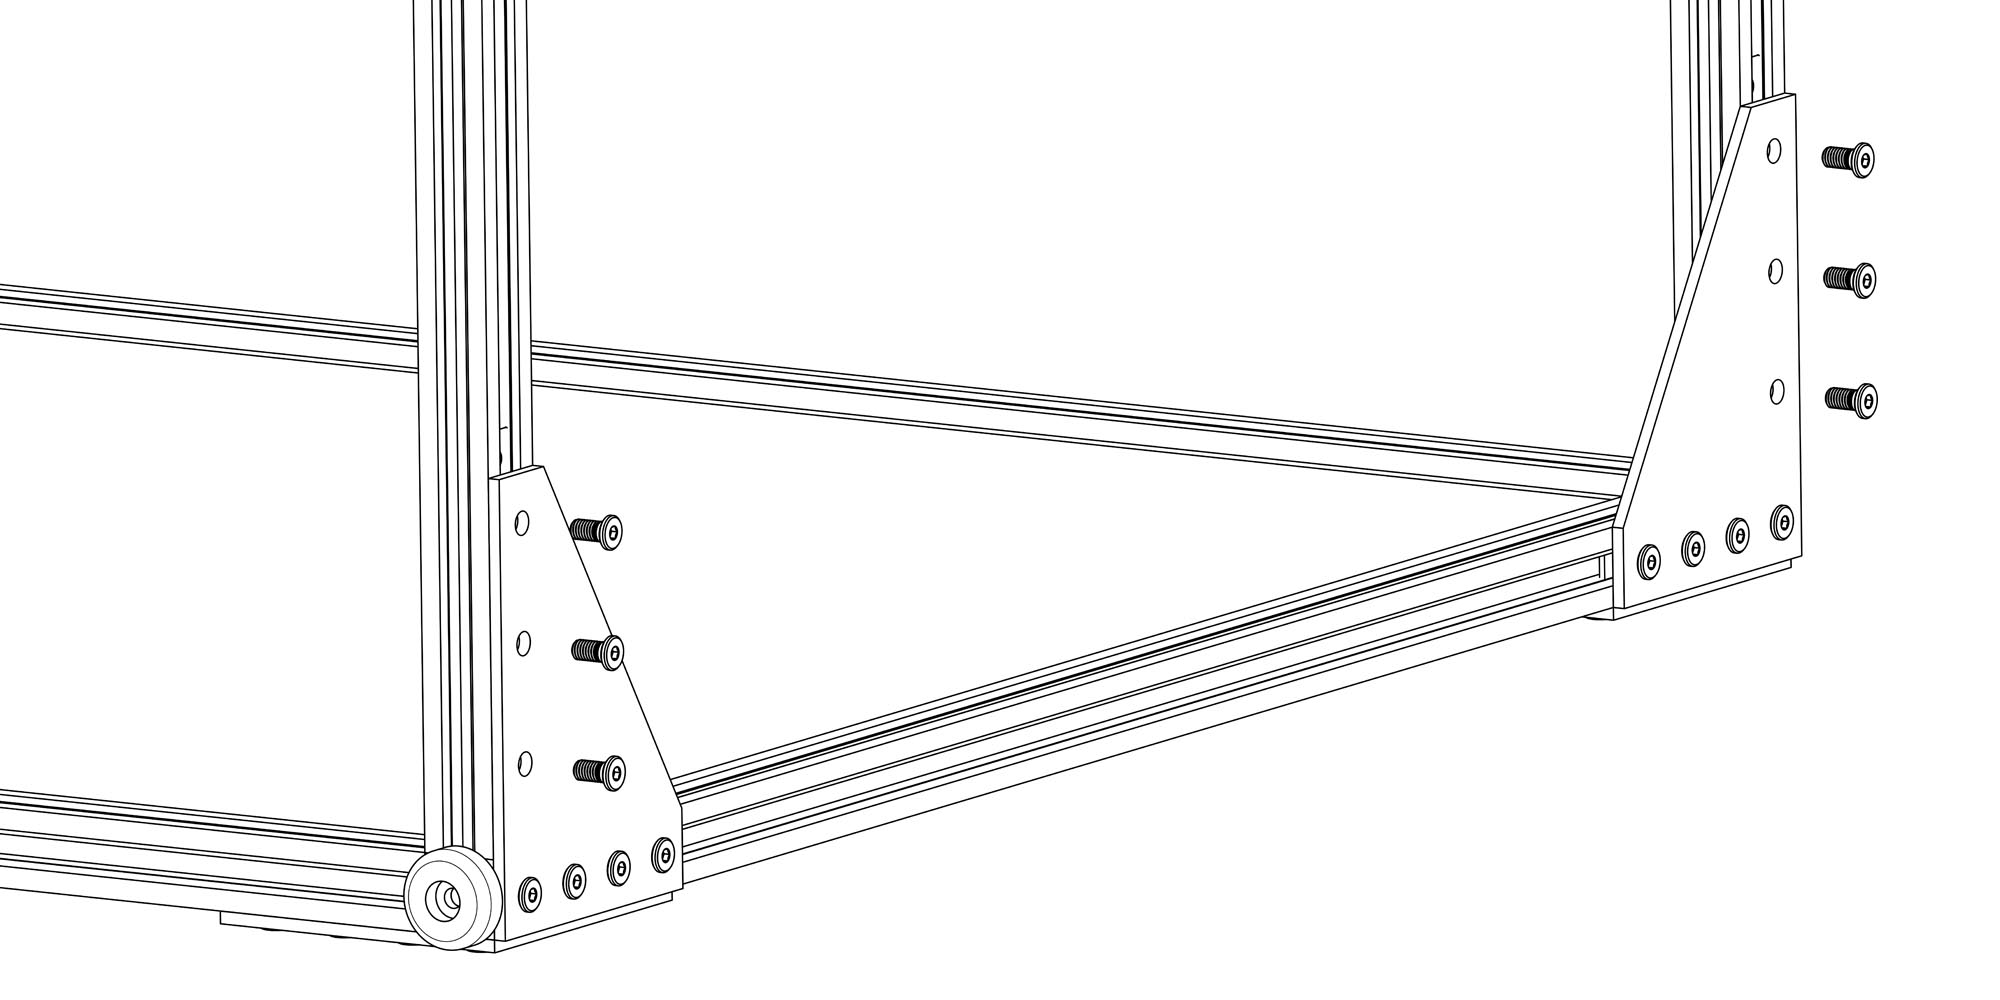
One at a time, install the Front & Rear Top & Bottom Support Bars with the supplied machine screws. T-Nuts have been preinstalled into the support bars for ease of assembly.
Make sure the edges of the support bars are flush with the frame of the side assembly.
Support bars will be wobbly until the other assembly is installed.
Step 3
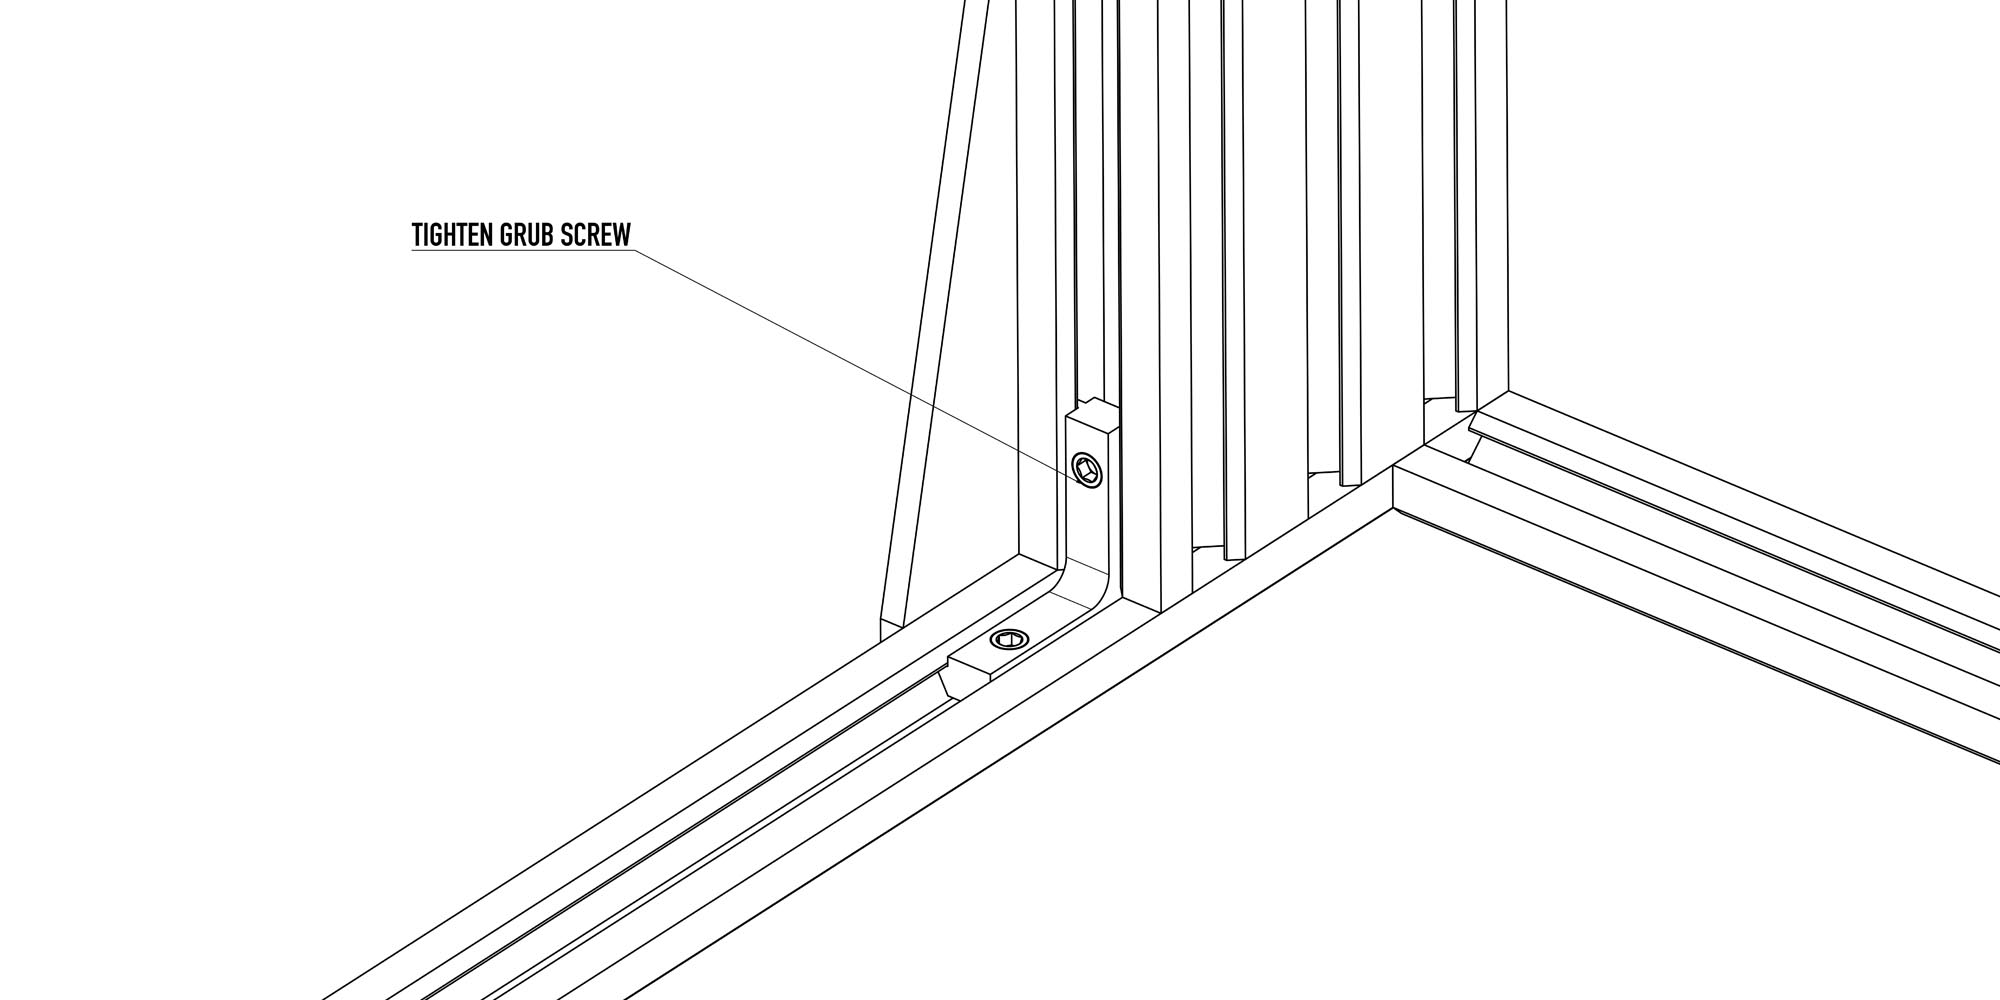
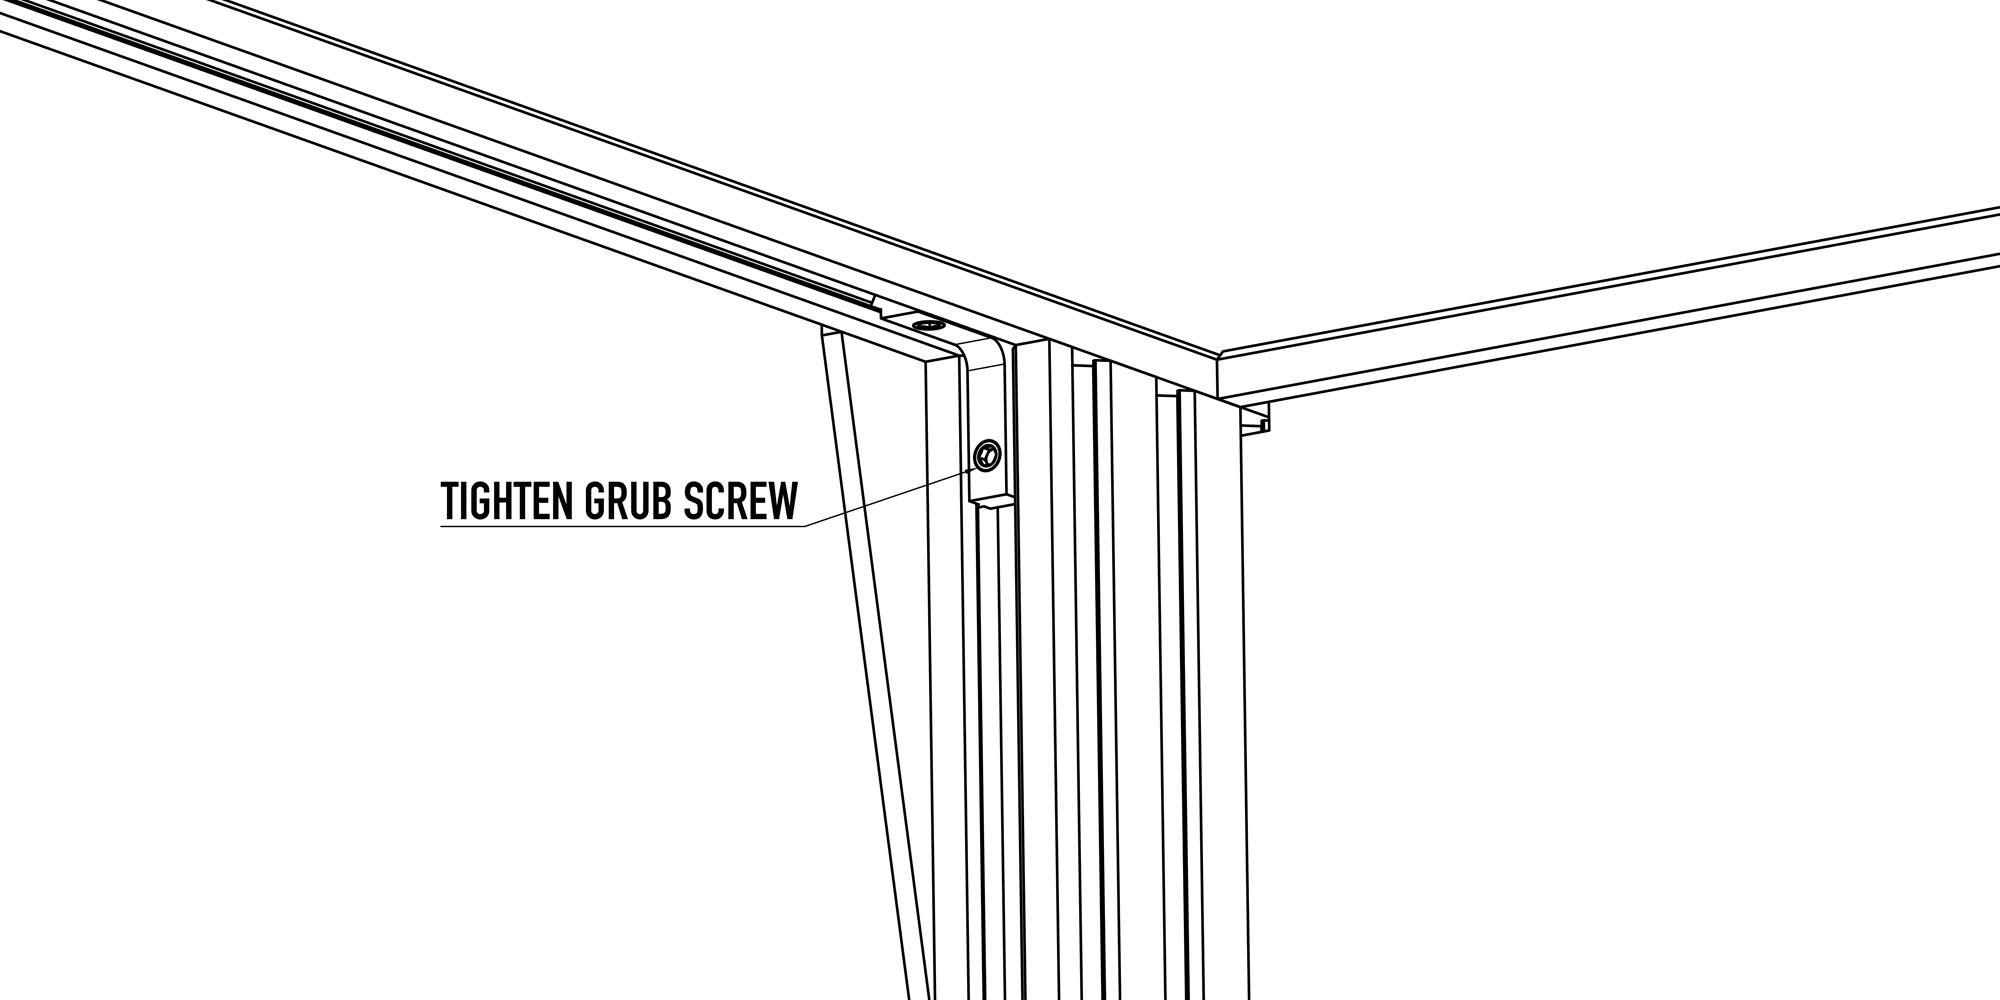
Tighten the grub screw on the front support back inside hidden corner bracket with a 2.5MM Allen Key.
Step 4
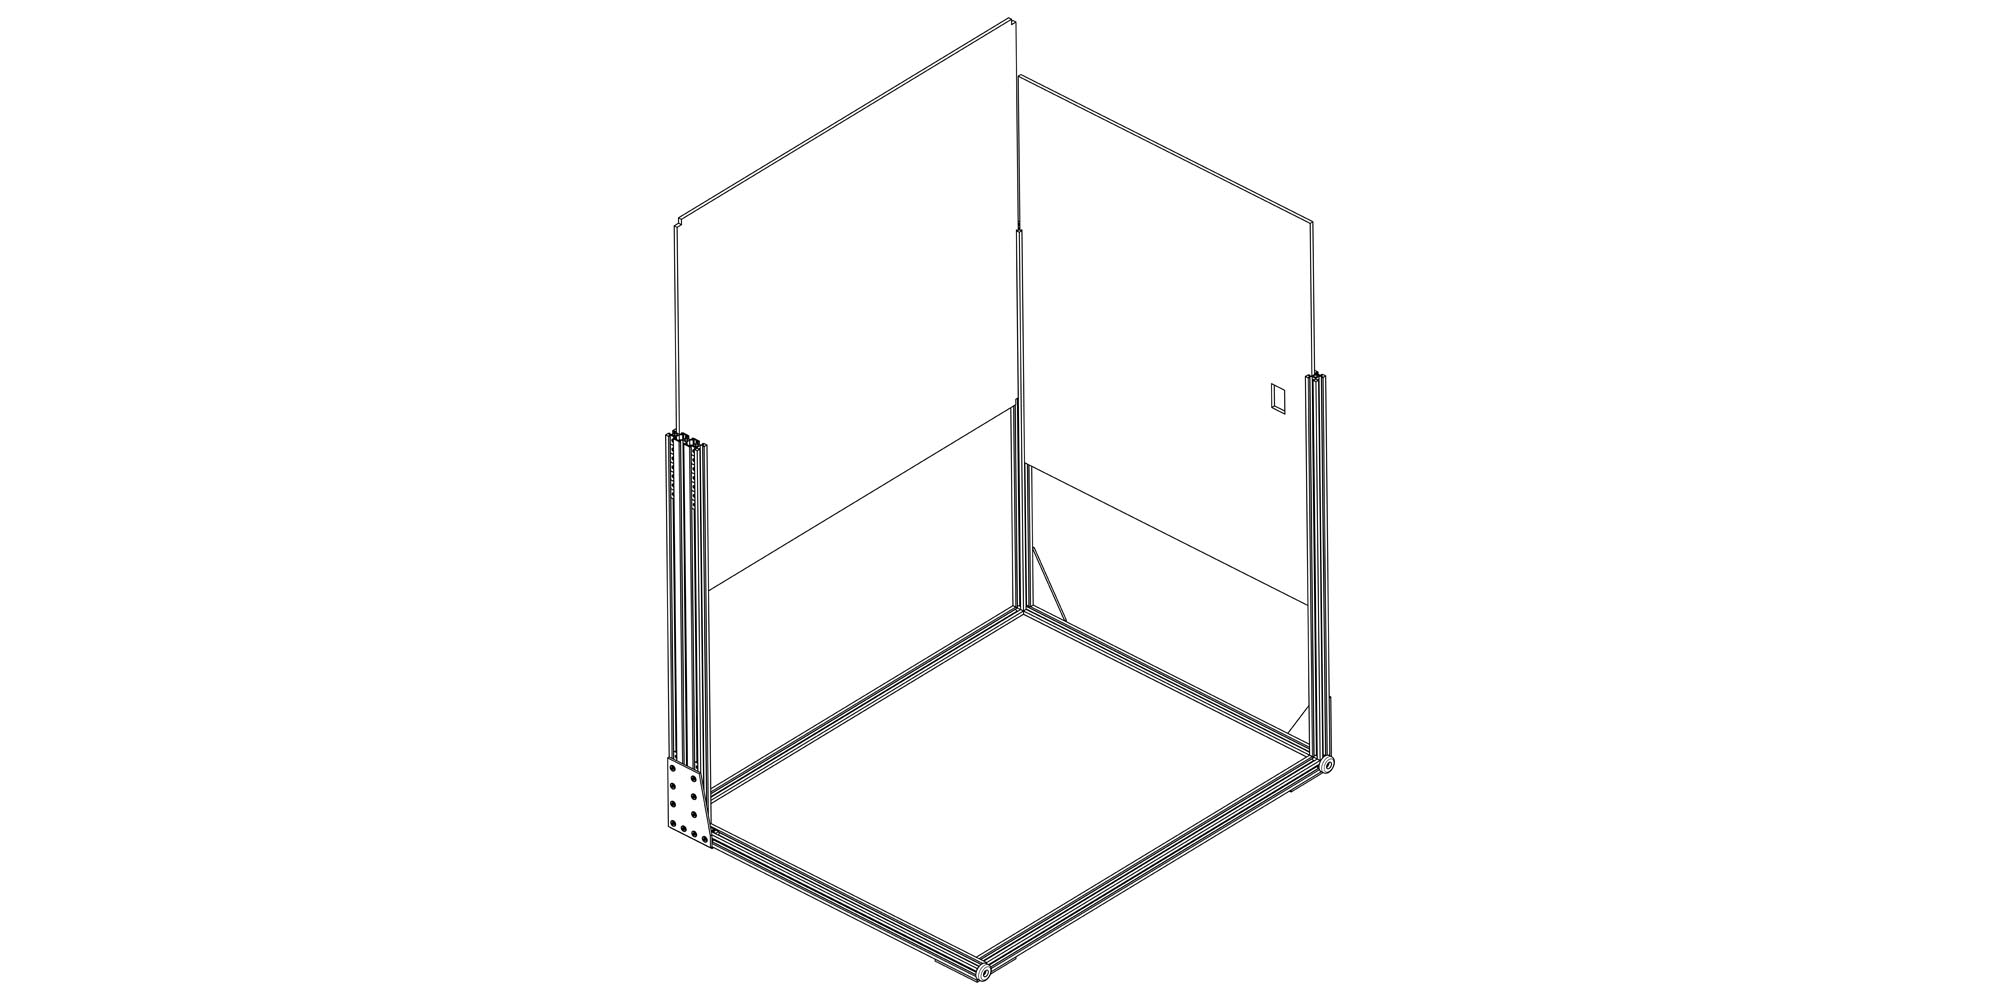
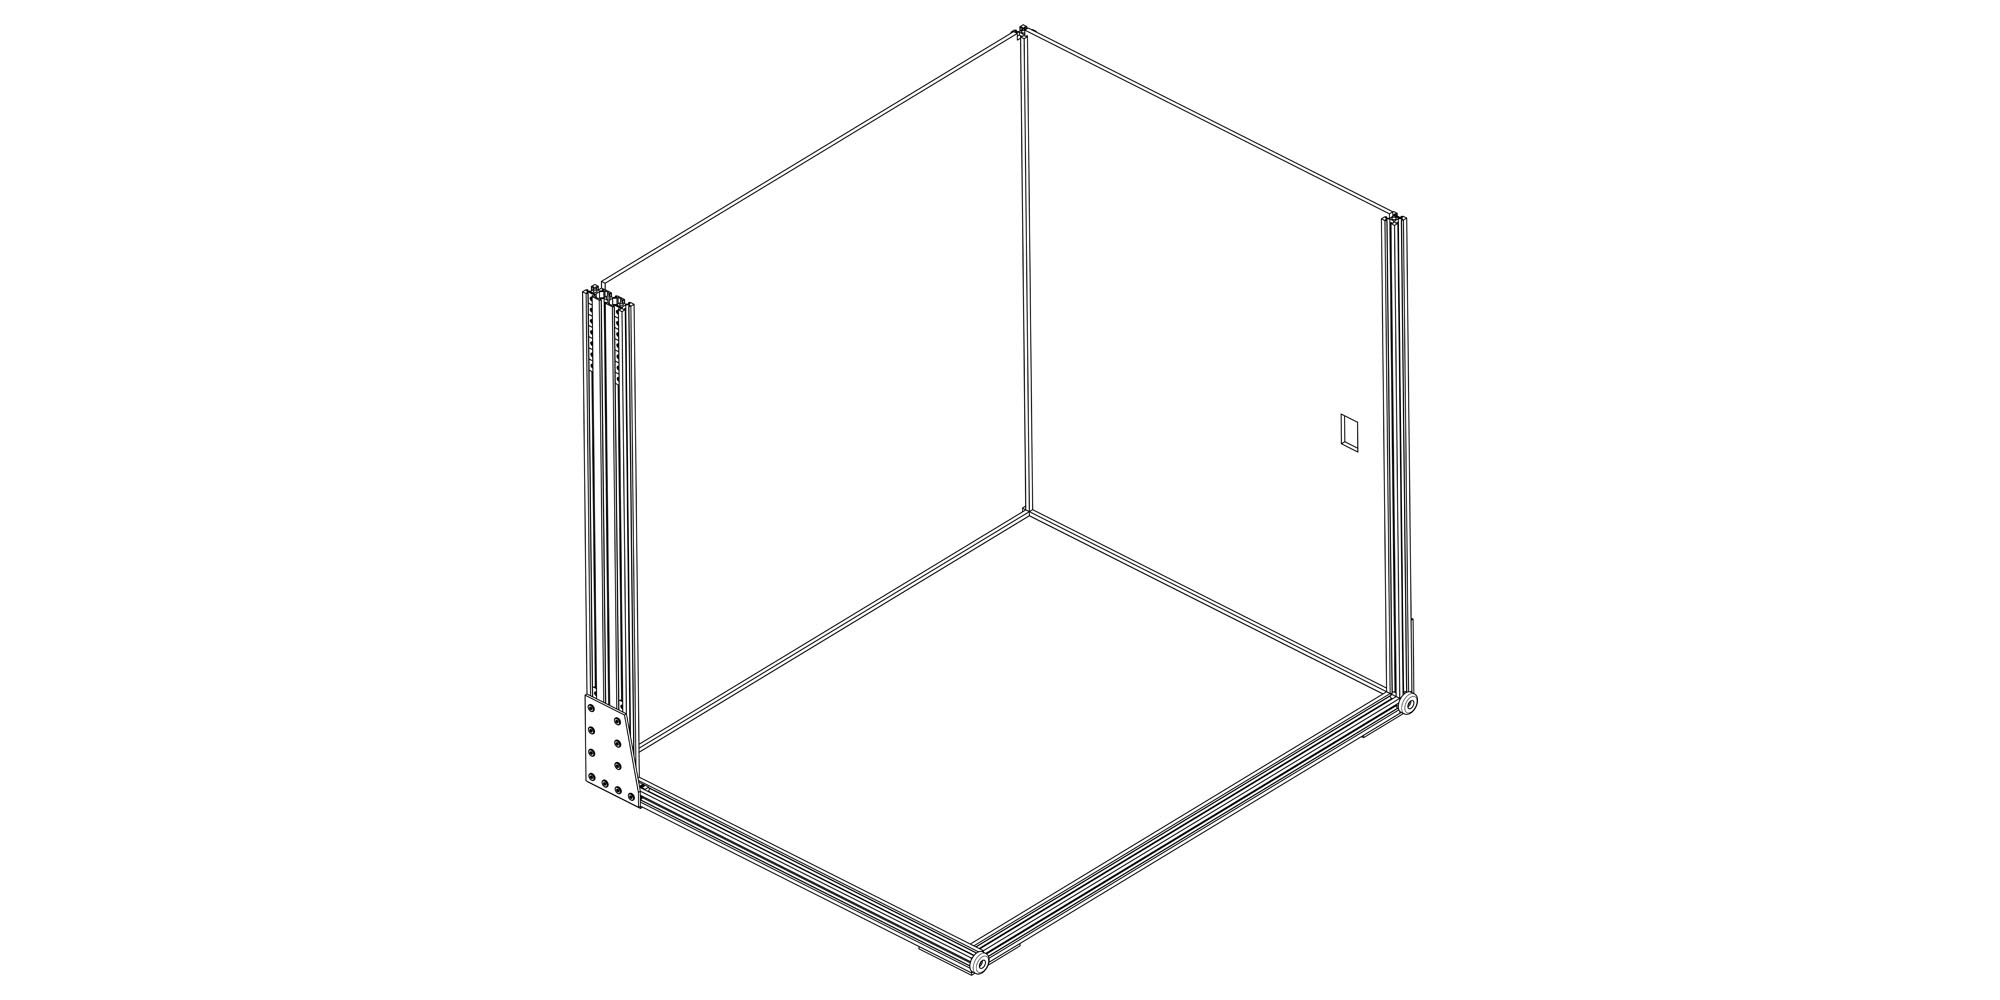
Remove the protective from from the Top & Back Panels and install as show below. The panels sit in the channels of the frame.
Back the back panel is installed with the power cord hole towards the bottom of the enclosure.
Step 5
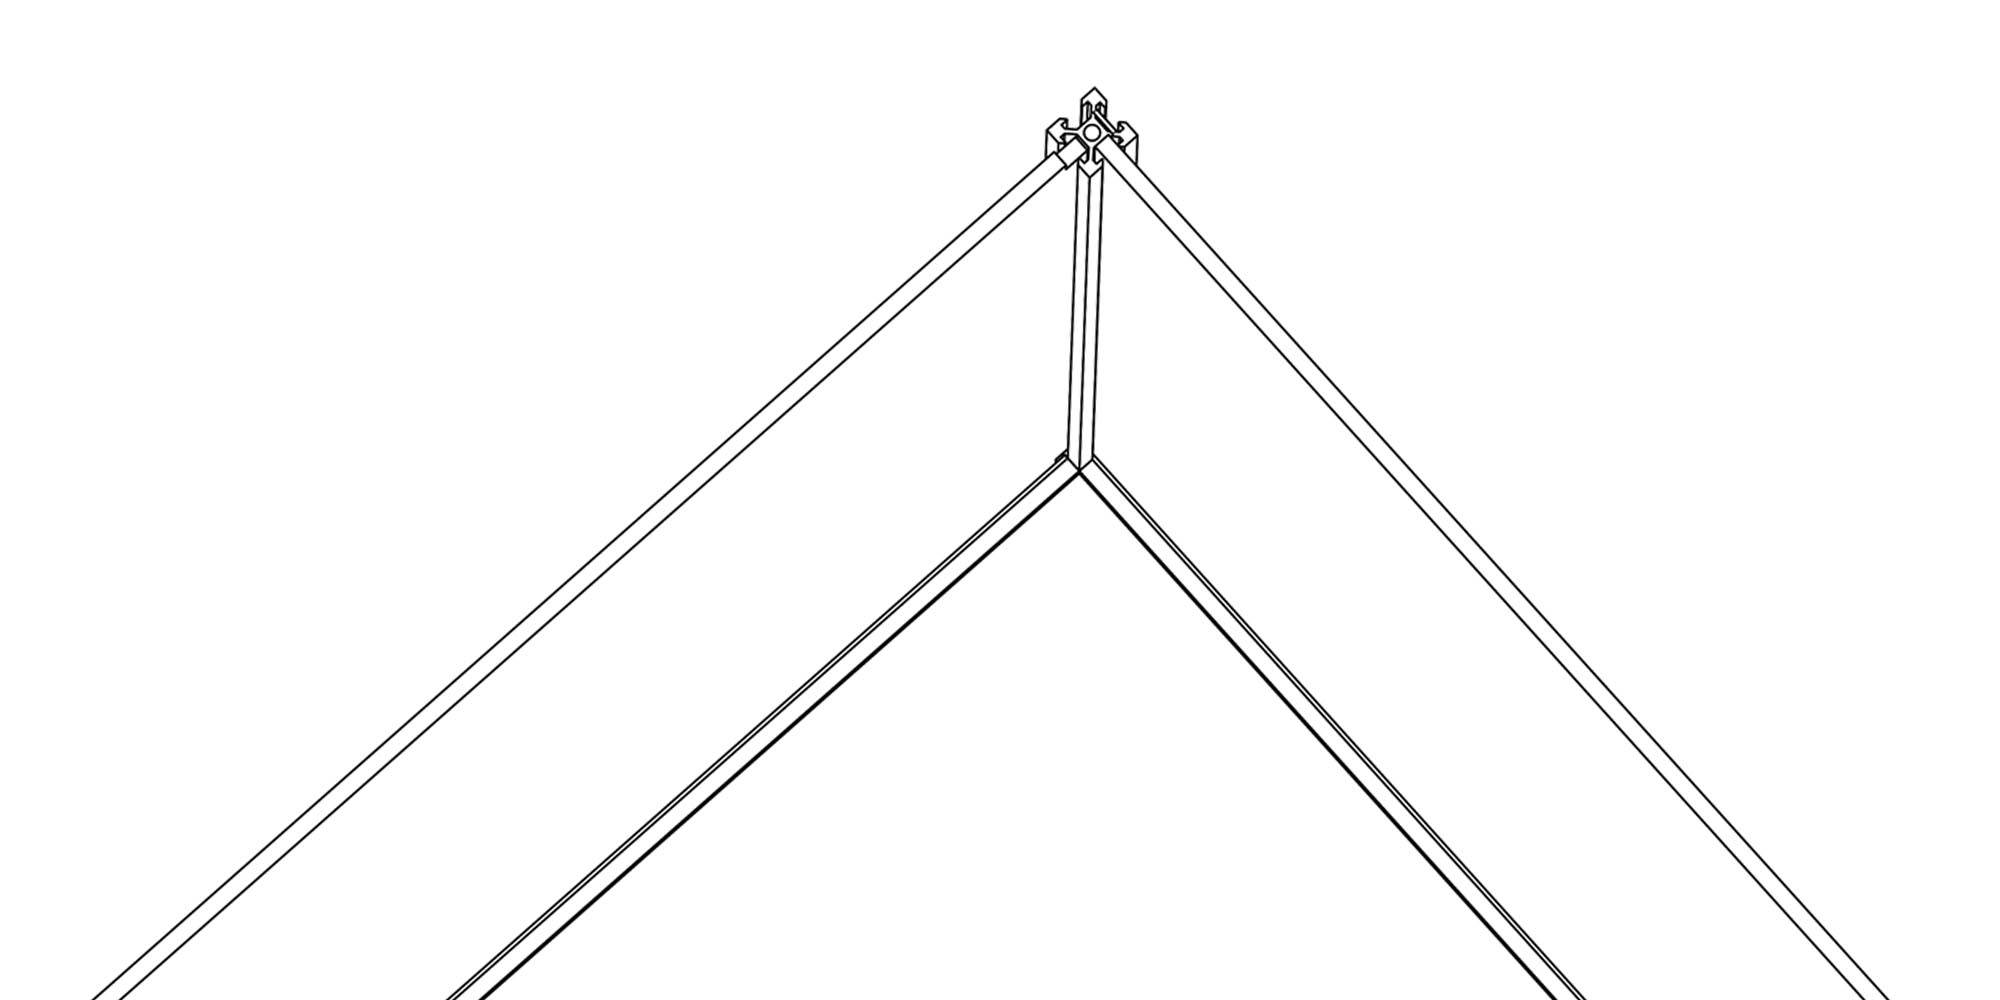
Install the other Side Panel Assembly and the provided hardware, tighten the grub screw on the inside hidden corner bracket.
Ensure sure the Inside Corner Bracket is in the correct position.
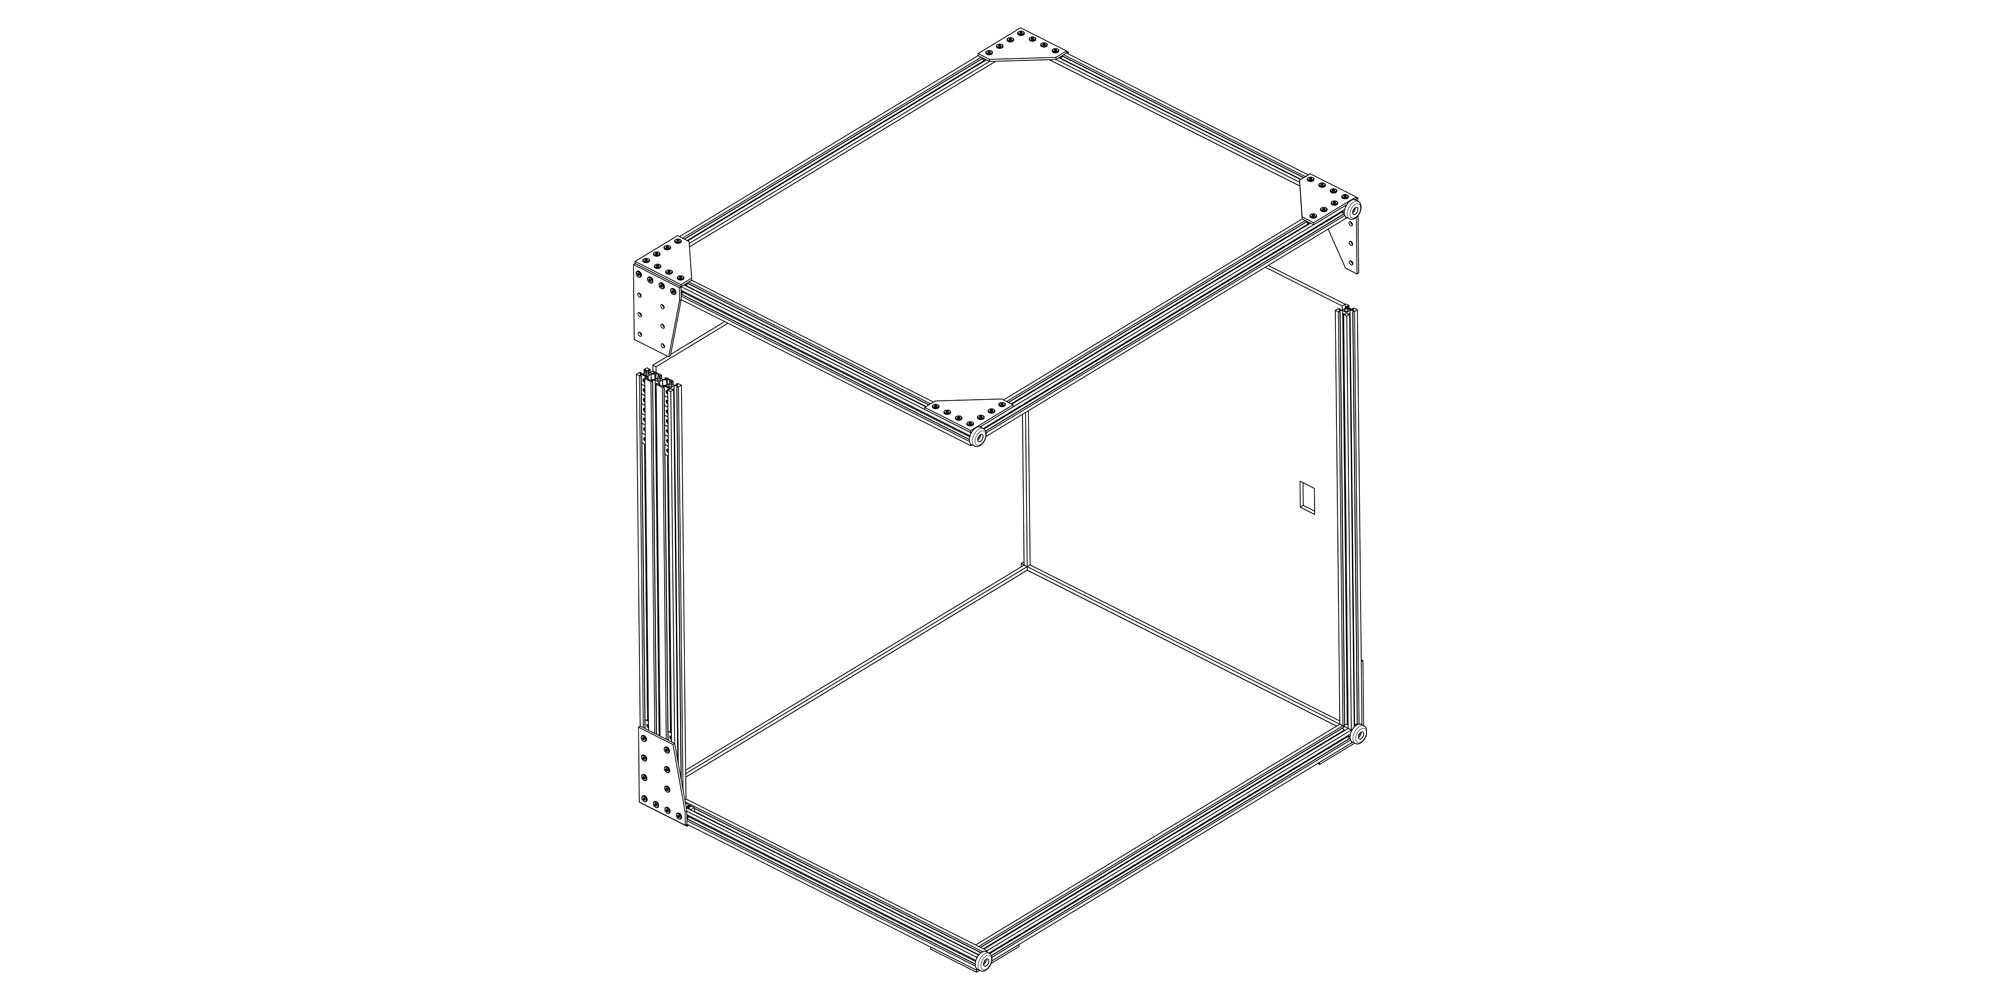
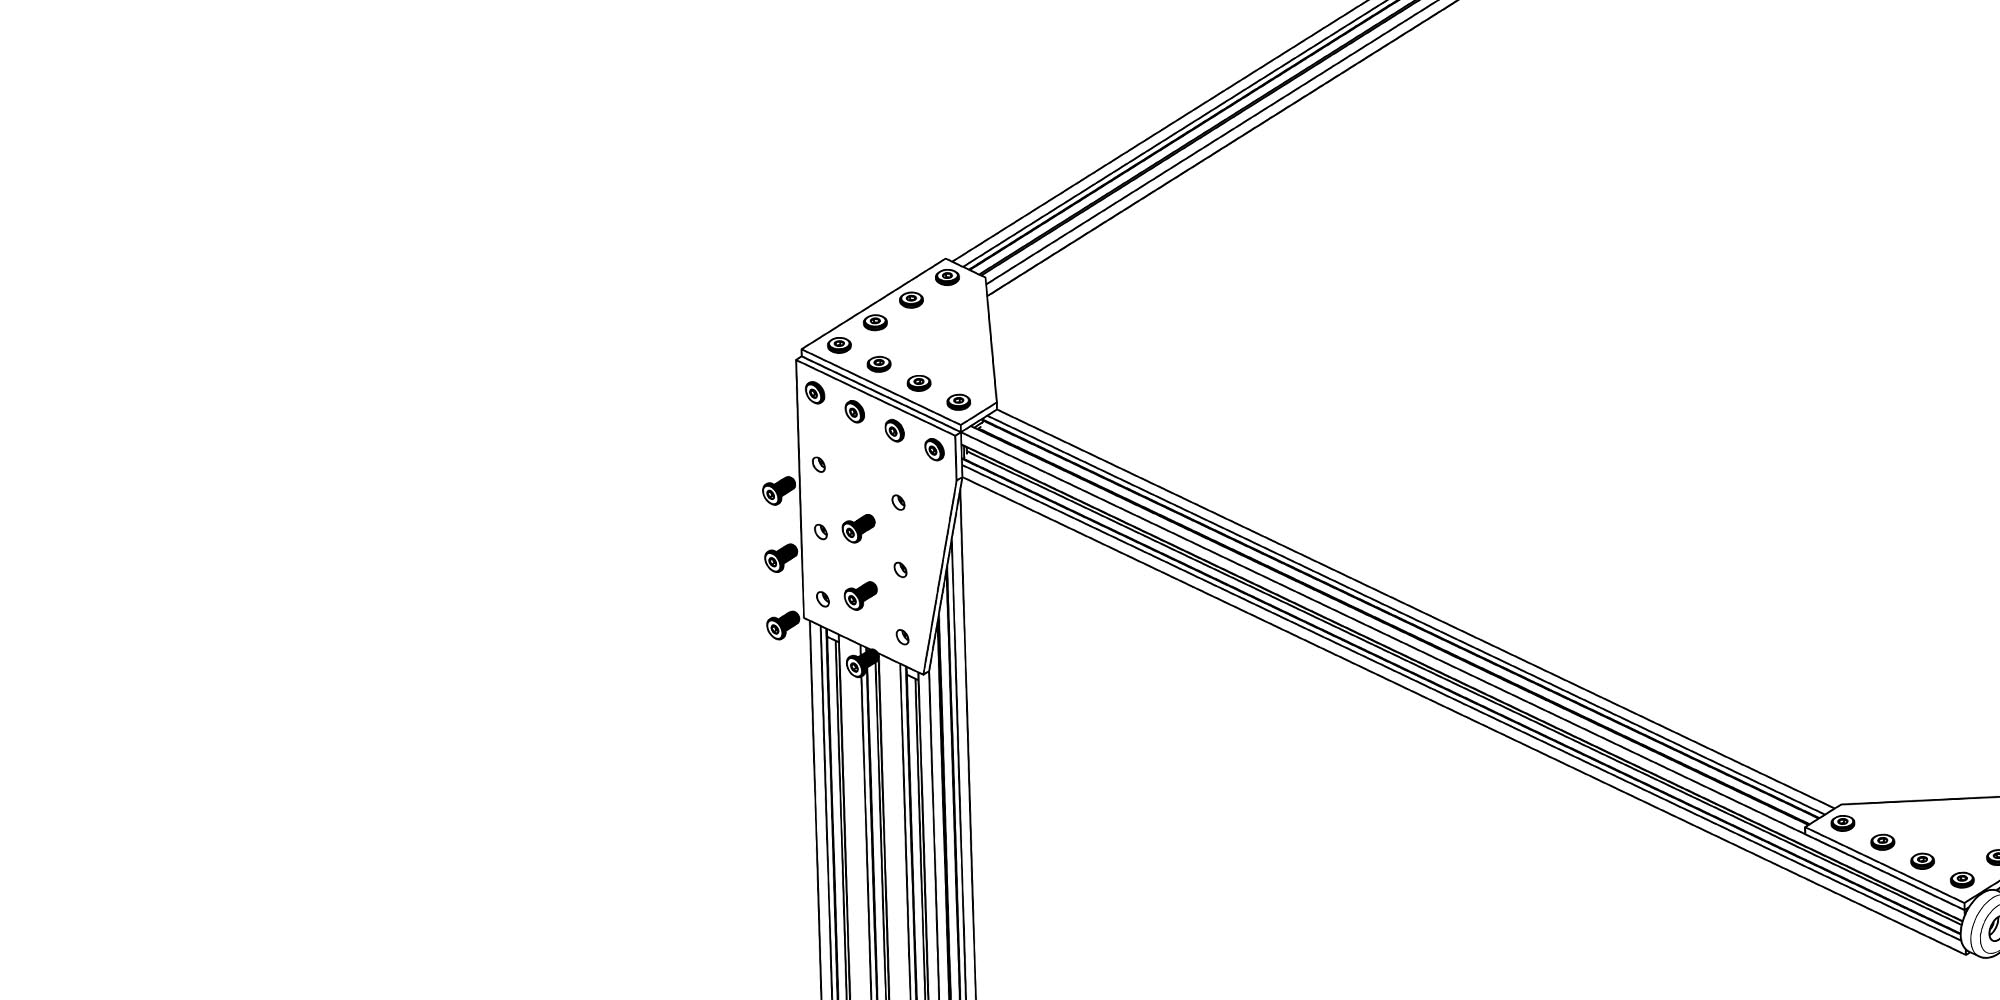
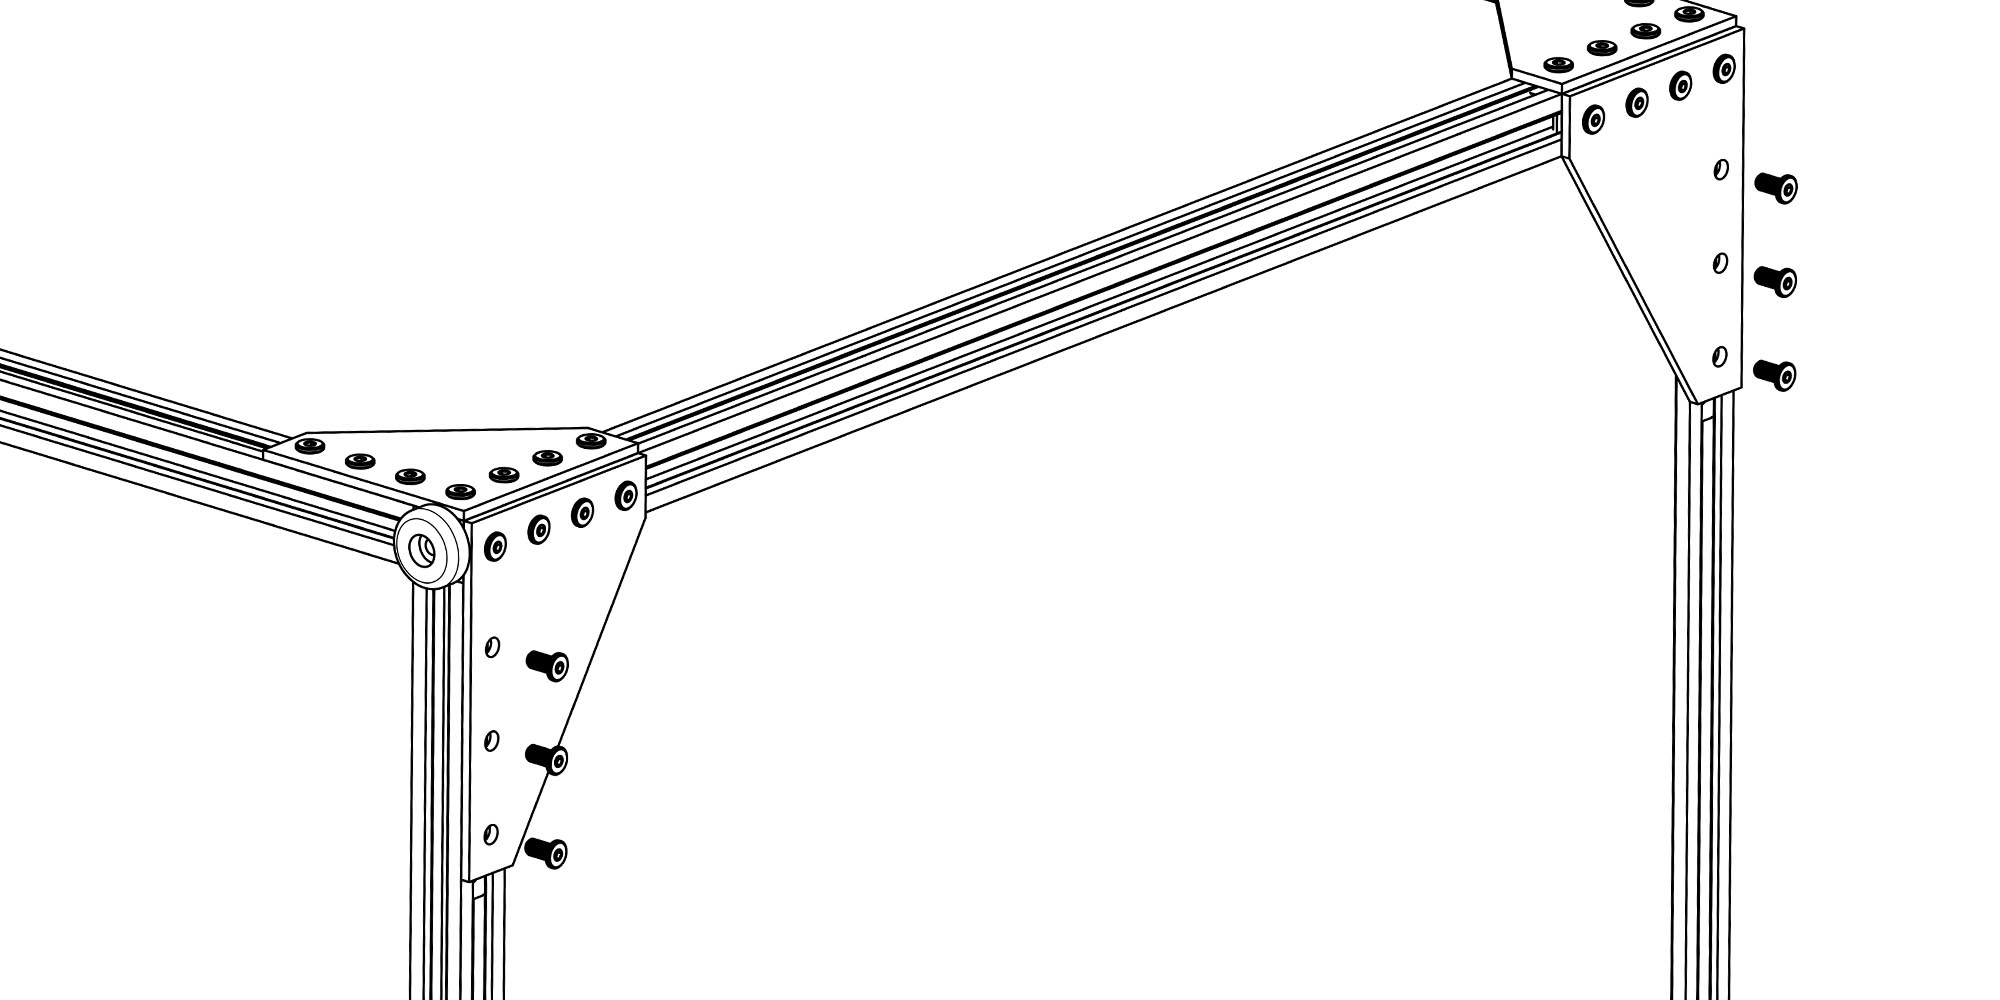
Assembly complete
This concludes the assembly of your King Cobra Enclosure. You can now place the enclosure over your machine as shown below.
