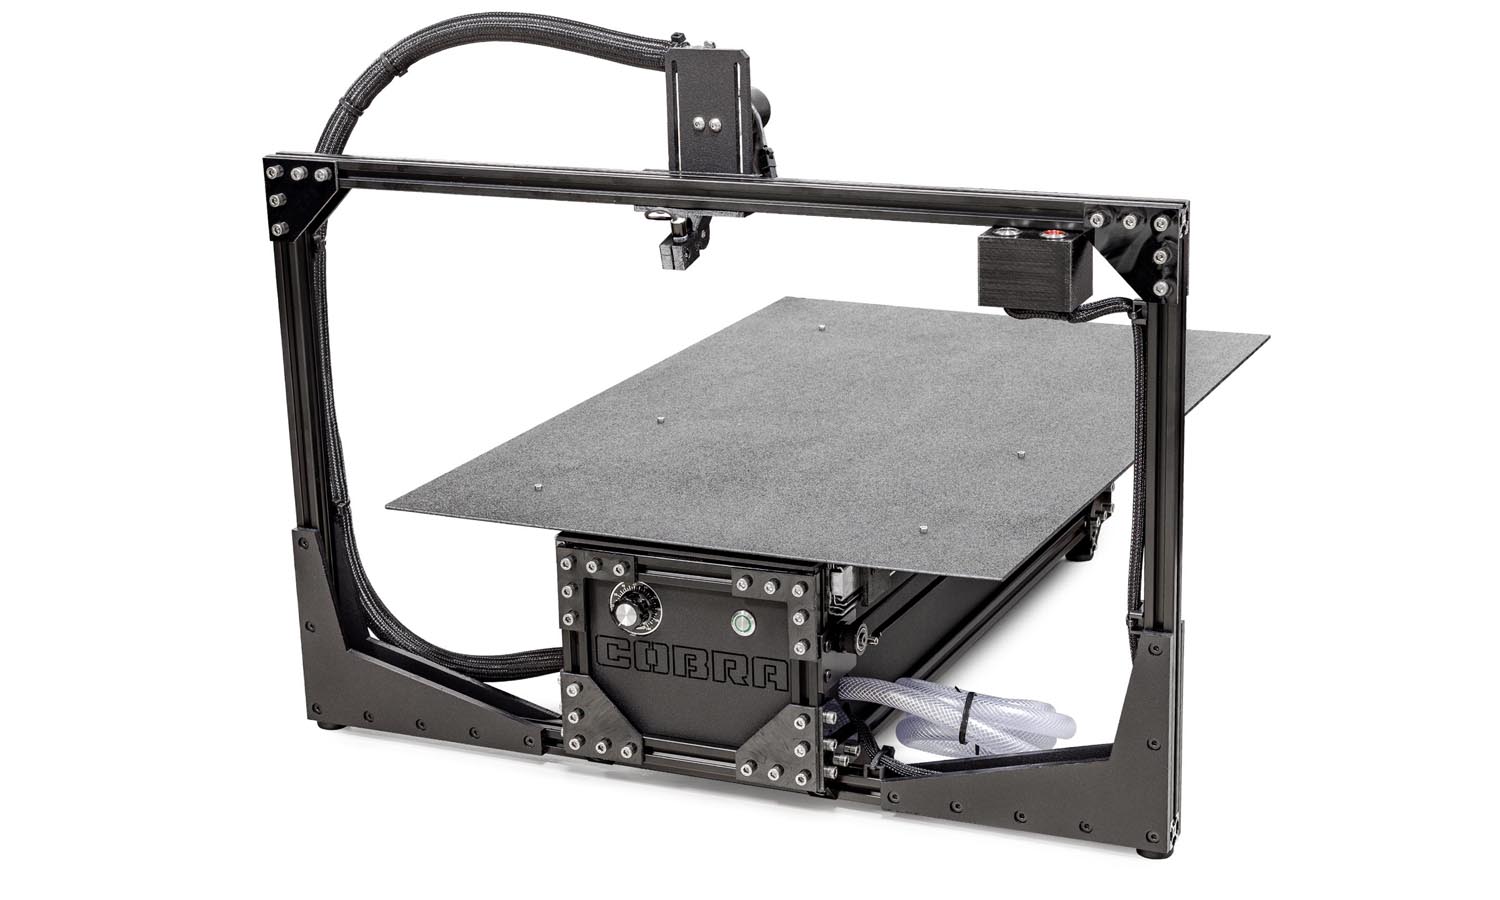
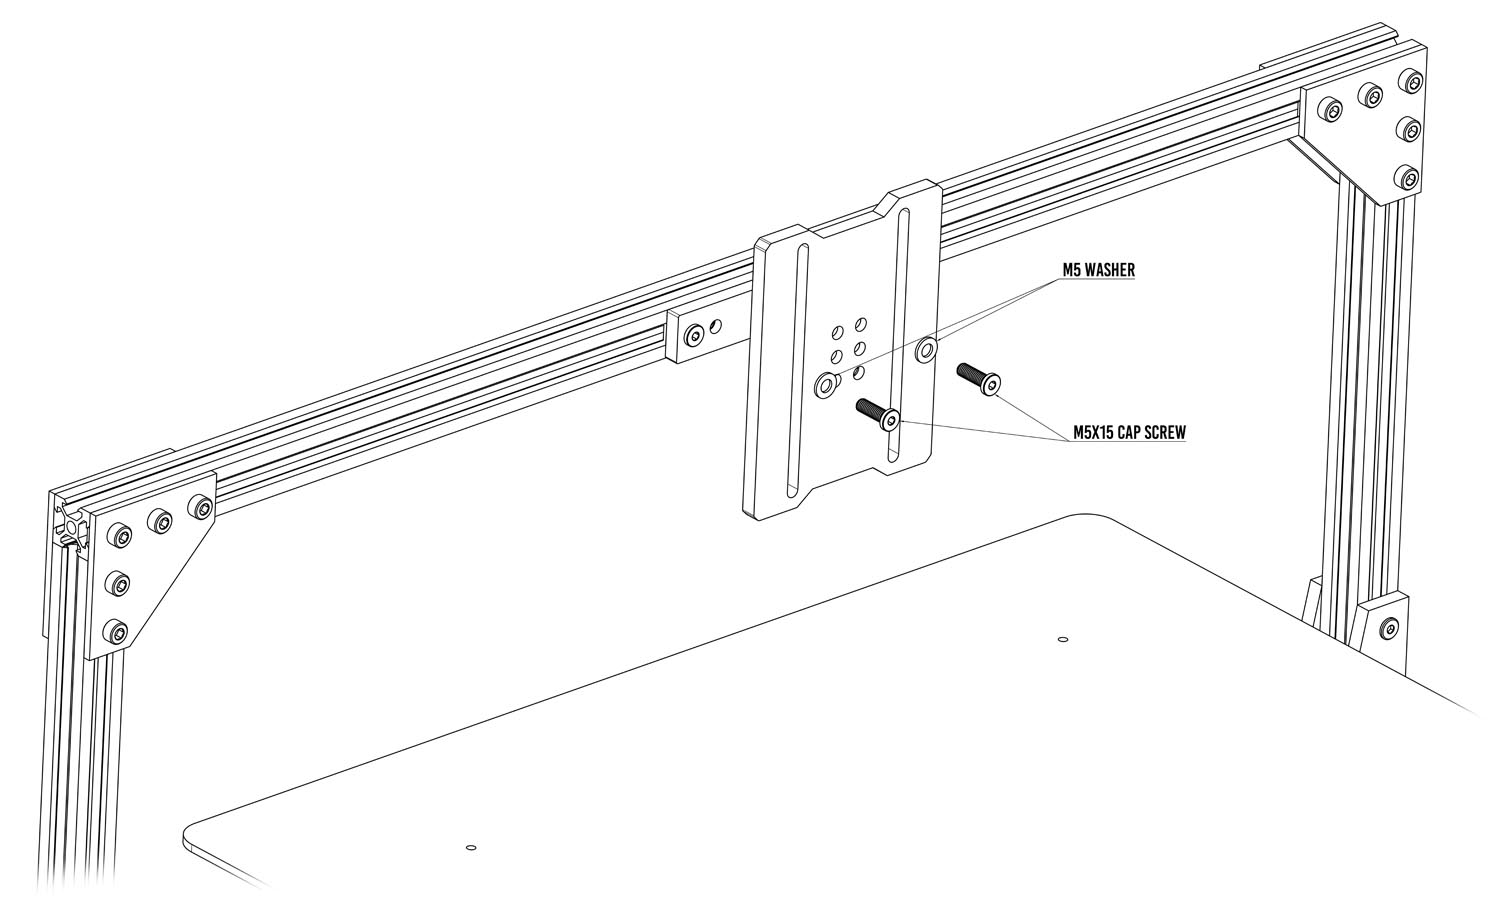
1. Attach the solenoid mount to the spray arch with the supplied M5X15 Cap Screws & M5 Washers. For full width spray coverage, adjust the nozzle tip 7-8″ from the top of the platen.
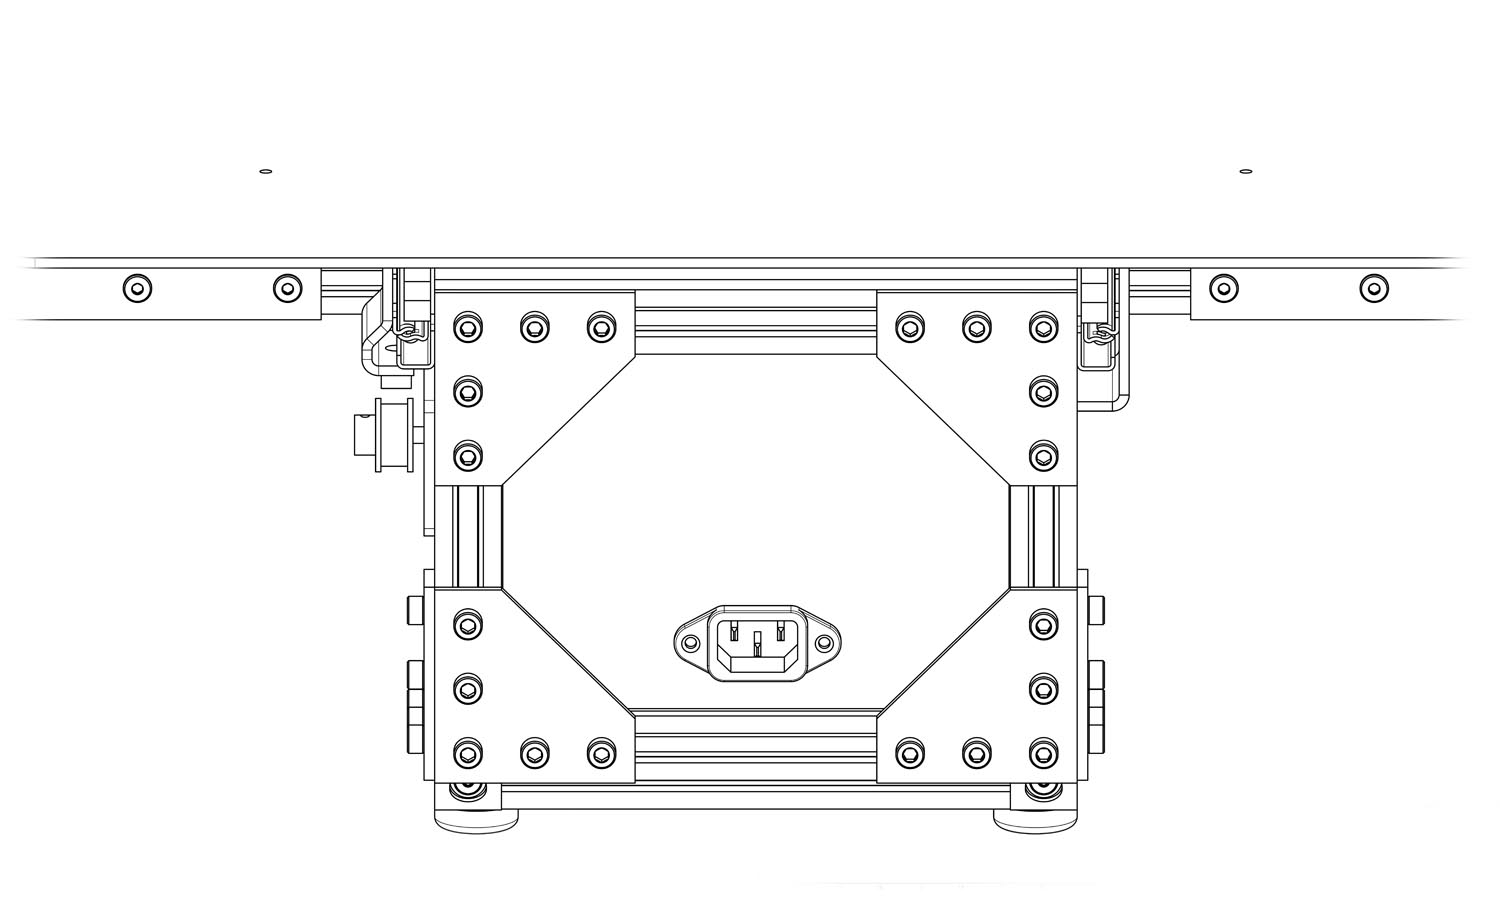
2. Plug the supplied power cord into the power connector located on the back of the machine.
3. Plug the cord into into a power outlet.
Machines purchased in the US & Canada require a standard 110V outlet.
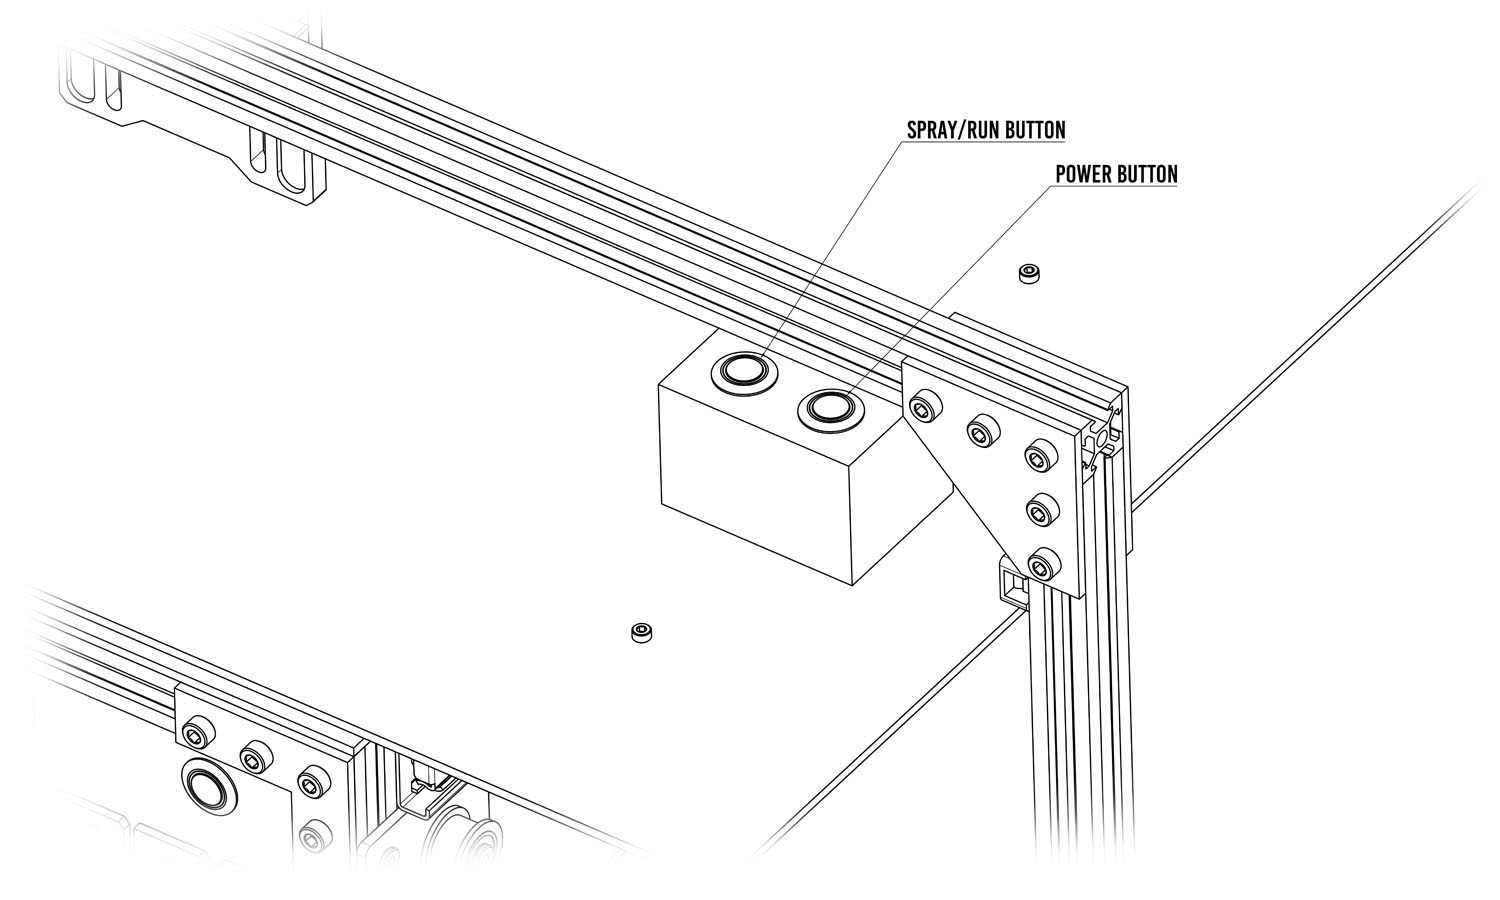
The power & play/run buttons are located at the top right of the spray arch.
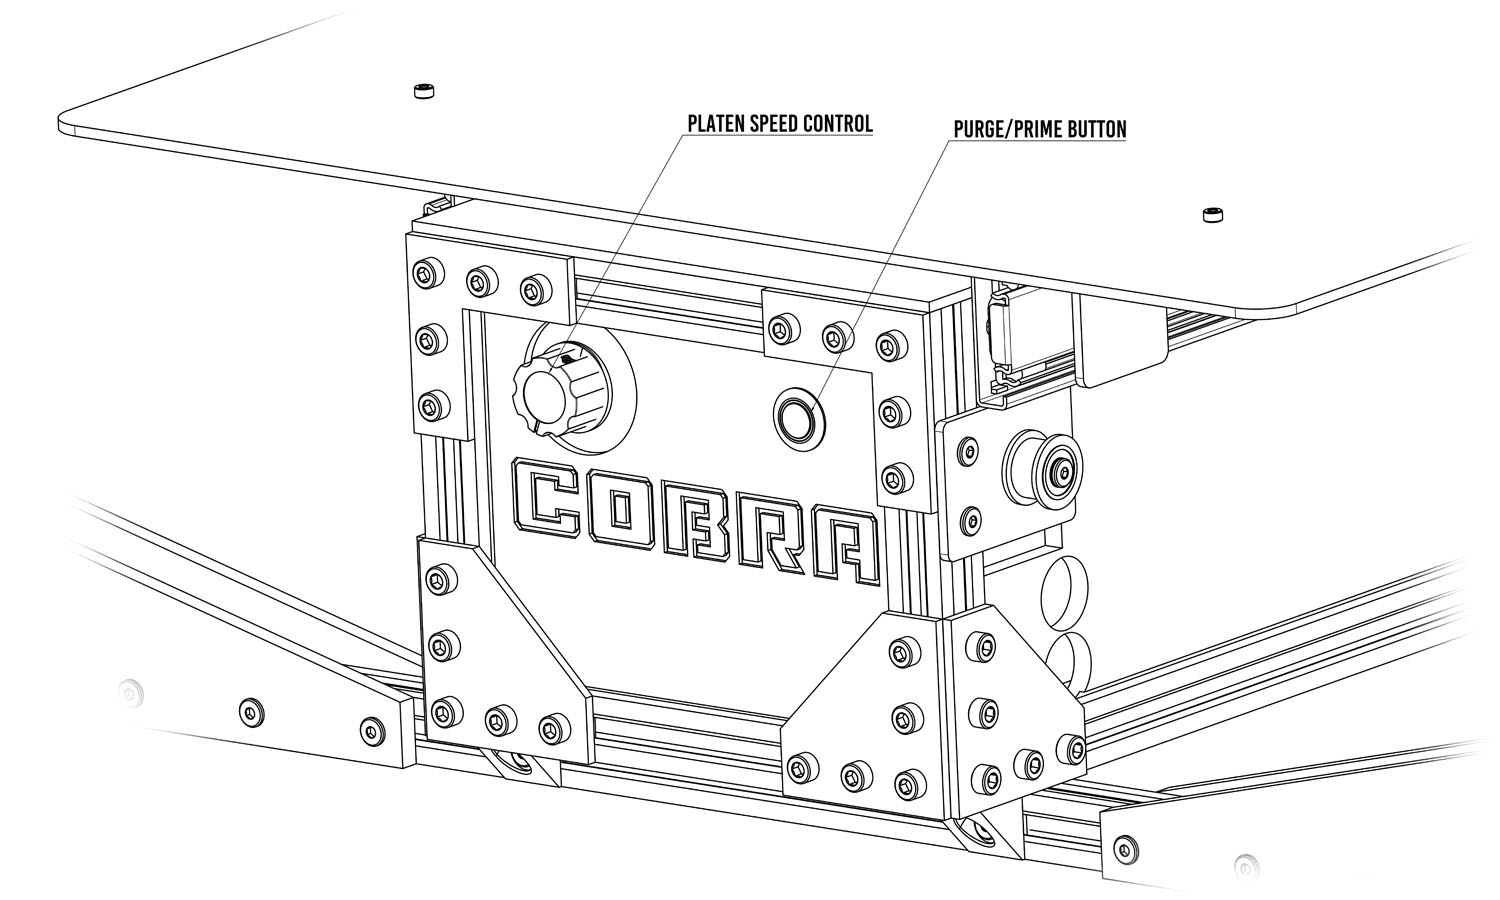
4. To power on the machine, press the power button until it latches. The LED Ring indicator will illuminate red, the Play/Run button will illuminate white and the Purge/Prime Button will illuminate green.
To power off the machine, press the power button to unlatch.
Preparing the Cobra PTM for use.
5. Place the supply feed line (Right side of Machine) into your desired pretreatment container. Make sure the hose is fully submerged in the solution to prevent air entering the system.
6. Place water bottle or cup under the nozzle and then press and hold the green purge/prime button on the front off the machine.
7. Hold the button until all air has purged from the system and you have a steady stream of spray coming out of the nozzle. If the nozzle has a slow shut off there is still air trapped in the nozzle body. It helps to press/release the purge/prime button rapidly to agitate air bubbles and push them out.
8. Make sure there are no kinks in the hose that could cause any restrictions.
9. Load a garment on to platen with collar facing away from operator. Make sure sleeves and not laying in the spray area.
10. Once the garment is in position it is ready to be pretreated. Press the spray/run button to cycle the machine. DO NOT HOLD IT DOWN. After spraying, carefully remove the garment and cure the pretreat according to the manufacturer’s specifications.
Platen Speed to Pretreatment Applied (Grams)
Platen Set Speed |
Pretreat Applied (Grams) |
Full Length Passes per Gallon |
|---|---|---|
0 |
33g |
114 |
10 |
31.75g |
119 |
20 |
30.5g |
124 |
30 |
29.8g |
127 |
40 |
29g |
130 |
50 |
28.4g |
133 |
60 |
28g |
135 |
70 |
27.7g |
137 |
80 |
26.5g |
143 |
90 |
24.6g |
154 |
100 |
22.8g |
167 |
Be aware that some data found in this table is estimated. Total pretreatment weight amount applied to the garment vs. platen speed was tested in a controlled environment, your results may vary. A digital scale was used to weigh each garment after pretreatment was applied. Each pass was a full length pass of the platen. Total amount of full passes is based on total weight of 1 gallon of pretreatment at roughly 3782.96g. The amount of shirts you are able to pretreat per 1 gallon with full length passes may vary. This table should only be used as a reference.
General Maintenance
Daily Maintenance
Do not leave pretreatment solution in your machine overnight. It will cause parts to fail prematurely and doing so will void your warranty.
The following steps should be taken every day after you are finished with using the machine.
- Remove the supply feed line from your pretreatment solution and purge the rest of your pretreat left in the lines into a clean bottle or cup so that no pretreatment is wasted.
- After leftover pretreatment is removed, purge Distilled Water through the system until the water coming out of the nozzle is clear. Do not leave a milky colored liquid in the machine, this indicates that there is still pretreatment in the system and can cause failures. You can leave distilled water in the machine overnight or until the next use.
- Wipe the nozzle clean, you can remove the nozzle and place it in a small cup of distilled water.
- Wipe down the machine as best as possible to prevent curing pretreatment build up.
- Power off your machine, we do not recommend leaving your machine powered on overnight.
Always use a clean container when operating your machine. Small debris can get into the system that can cause the components to clog, especially the nozzle.
Monthly Maintenance
Every month we recommend doing a thorough cleaning of your machine, wipe down as much as you can reach with simple green or windex (Without Ammonia).
Spay the sliding rails with WD-40 to make sure they are properly lubricated, this will help with preventing binding and ensure a smooth travel when pretreating.
Make sure your belt on the right hand side of the machine still has a good amount of tension.
Every nut and bolt is secured with Loctite, but if you notice any loose bolts be sure to tighten them. Do not over torque bolts, this could lead to snapping them.
TS
Troubleshooting
Inconsistent Spray Pattern
If you are noticing inconsistency in your spray pattern there are few possible causes.
- Air in the pressure system.
- Debris in the Nozzle
First make sure there is no air in your pressure system, this can be done by purging the system again.
If the inconsistency is still present, remove the nozzle and check for debris. Be careful when trying to remove any debris from the nozzle.
If you can not get your machine to spray a clean pattern, please contact us to find another solution.
Platen Not Moving
If you push the pretreat/play button and the platen does not move but the pump and solenoid activate, check the back of the slides to ensure the platen is not locked in the rubber locking tabs.
Feel free to remove the rubber tabs and store them, this will ensure you will not push the platen into its locked position.
If your platen still does not move, there may be an issue with your motor. Please contact us for further assistance.
Machine Will Not Power On
If your machine will not power on:
Pull the platen all the way out to access the service cover underneath. Remove the service and check that all the connections are secure that you can see. If all the connections are secure and the machine does still not power on, contact us and we will help you trouble shoot your power problem.
If electrical parts are needed to be replaced we will send you these parts are no cost as long as you are within you 1-Year Warranty Period.

